FotoDijit
Creating a New Model
It is used to create a new model within Fotodijit.
1.) On the main screen, select the folder (in the left column) where the new model will be created, and click the New Model ![]() icon from the top menu.
icon from the top menu.

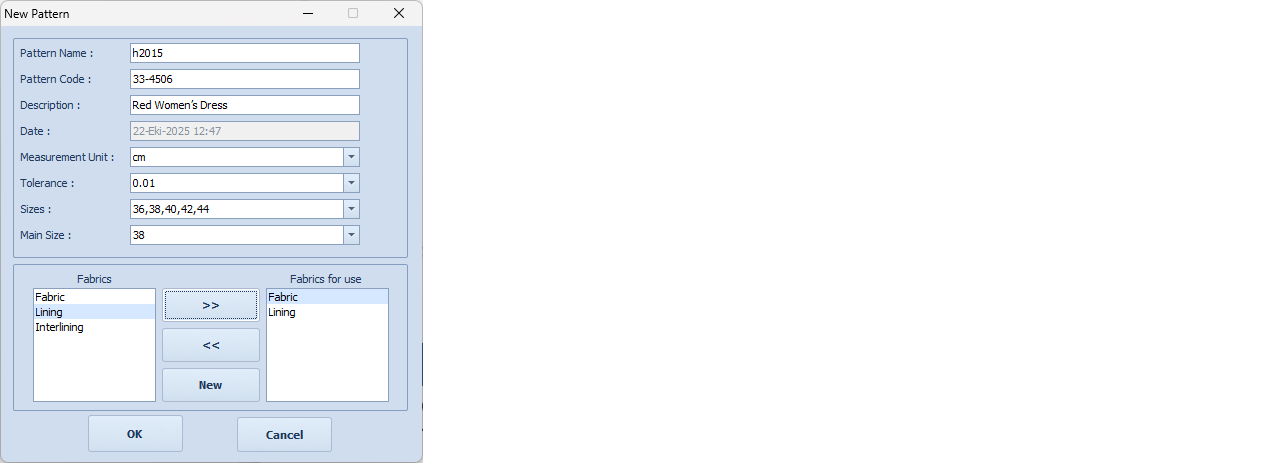
2.) In the New Pattern window that appears, enter the relevant information about the model.
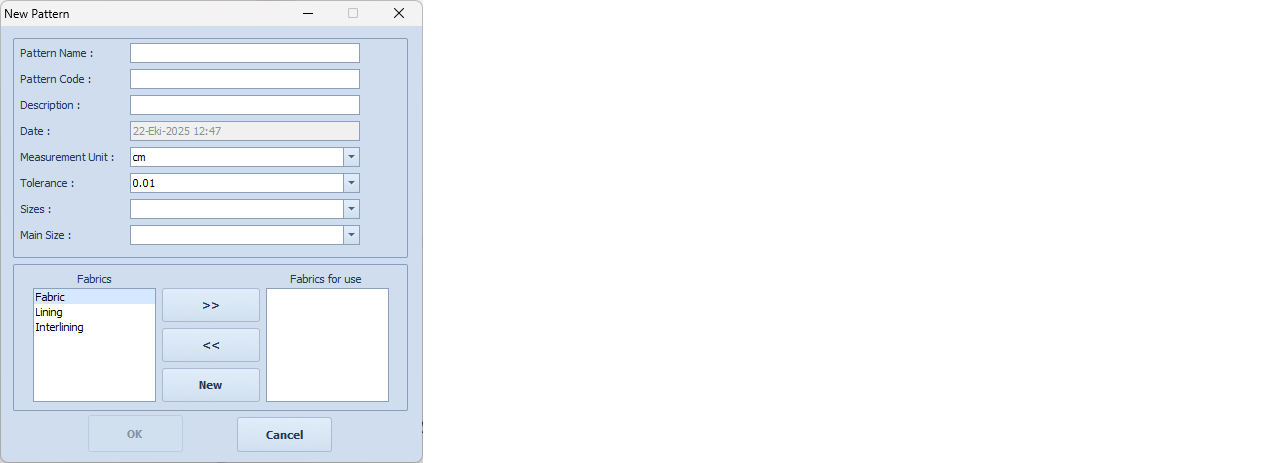
Pattern Name: Enter the model’s name (e.g., h2015).
Pattern Code: (Optional) Enter a secondary name or code for the model (e.g., 33-4506).
Description: (Optional) Enter a description of the model (e.g., red women’s dress).
Date: The current date is filled in automatically.
Measurement Unit: Select the unit of measurement to be used (cm, mm, inch) (e.g., cm).
Tolerance: Select the working precision. The number of decimal places is determined according to the selected value (0.01 is recommended).
Sizes: Enter the sizes applicable to the model, separating them with commas (e.g., 36,38,40,42,44), or click the arrow on the right of the row and choose from the list.
Main Size: Click the arrow on the right of the row and select the base size (e.g., 38).
Fabrics: From the list, select the fabrics applicable to the model and move them to the “Fabrics to be Used” section using the right arrow. If you need to add a fabric group not in the list, click the “New” button and enter the fabric name in the table that appears (e.g., Fabric and Lining).
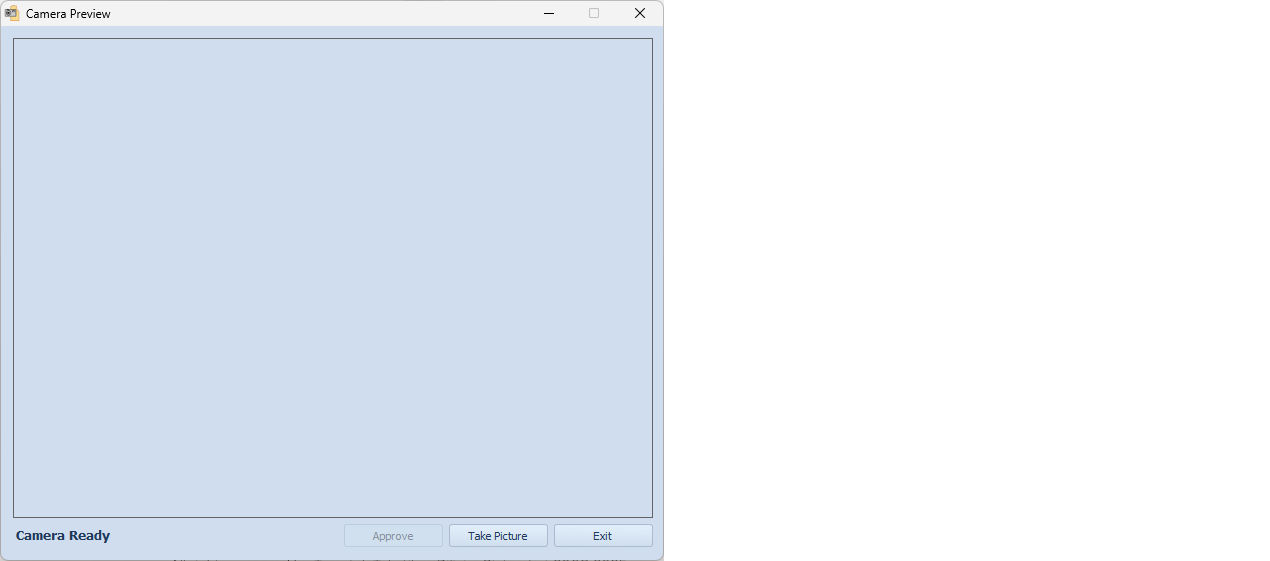
3.) Confirm the pattern entry by clicking OK, and the Camera Preview window will open.