Image Capture Operations
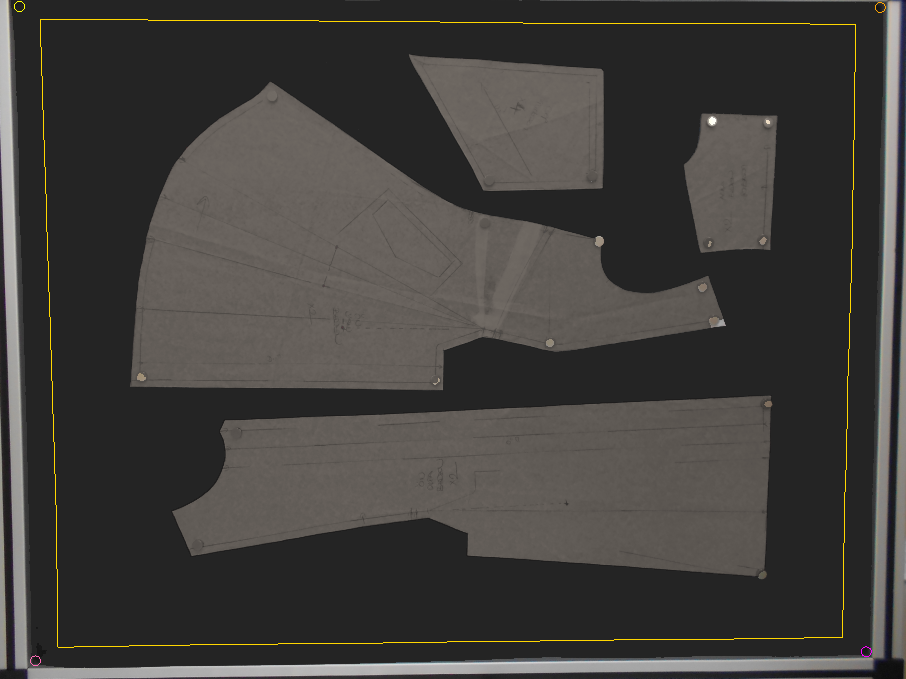
Before capturing the image, the patterns to be digitized should be placed on the table with approximately 5 cm of space from the table edge and at least 3 cm of space between each pattern.
If the camera is turned off, it can be switched on using the on/off button on the device.
1.) Once the New Model creation process is completed on the main screen, the Camera Preview window will automatically open.
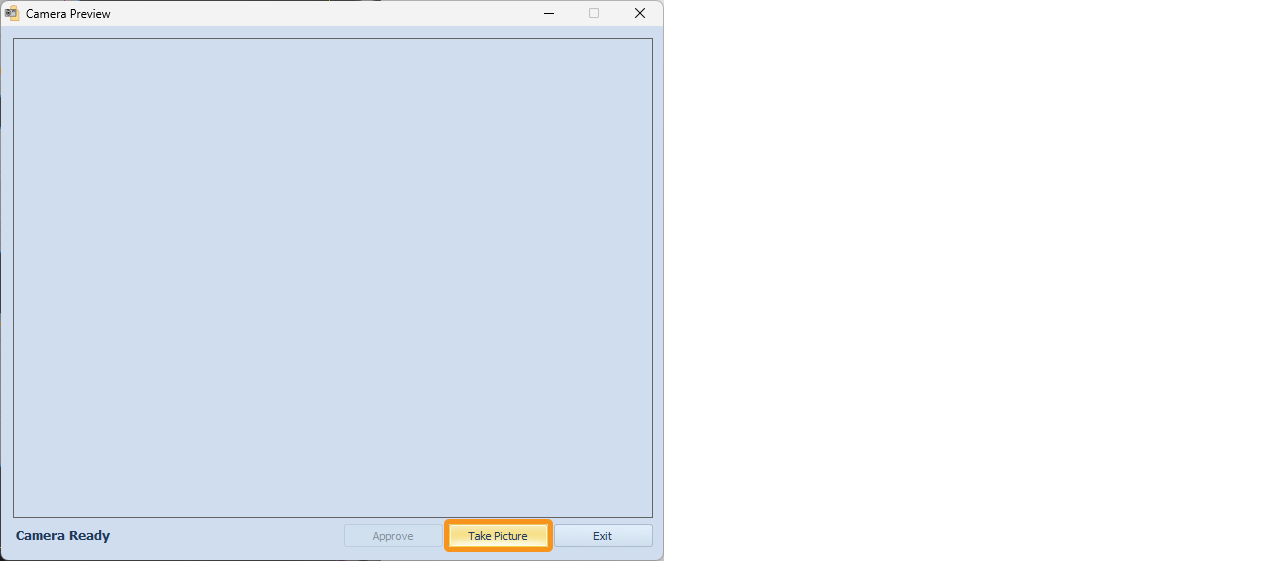
2.) When the Camera Ready notification appears in the bottom left corner of the Camera Preview window, click the Capture Image button to take the picture.
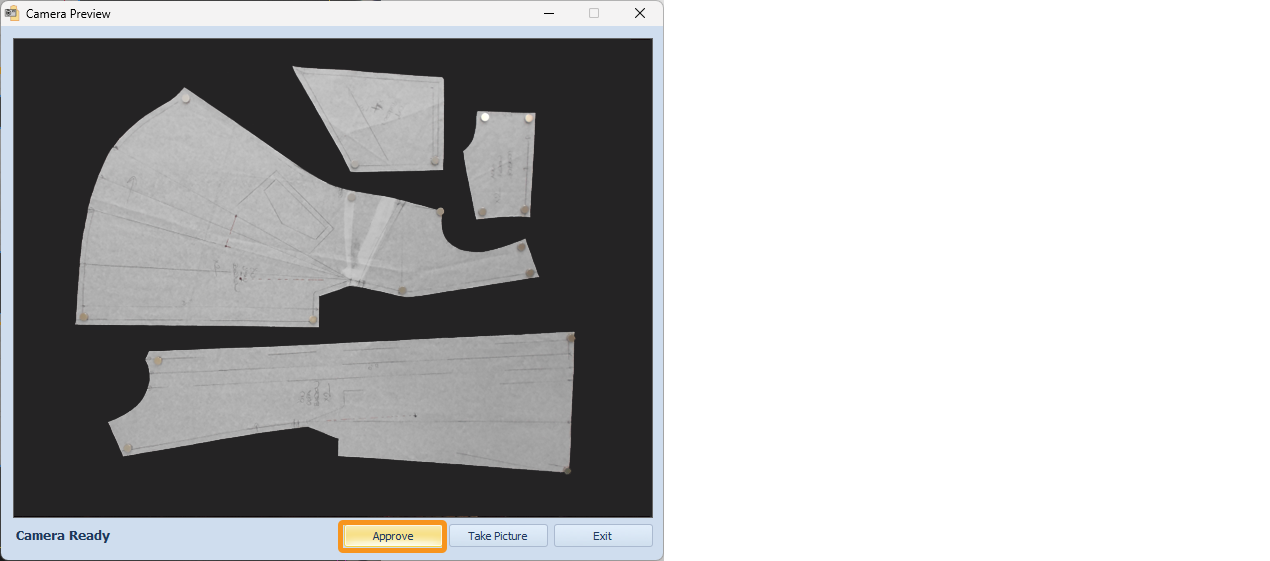
3.) The captured image will appear in the Camera Preview window. Click the Confirm button to approve the image.
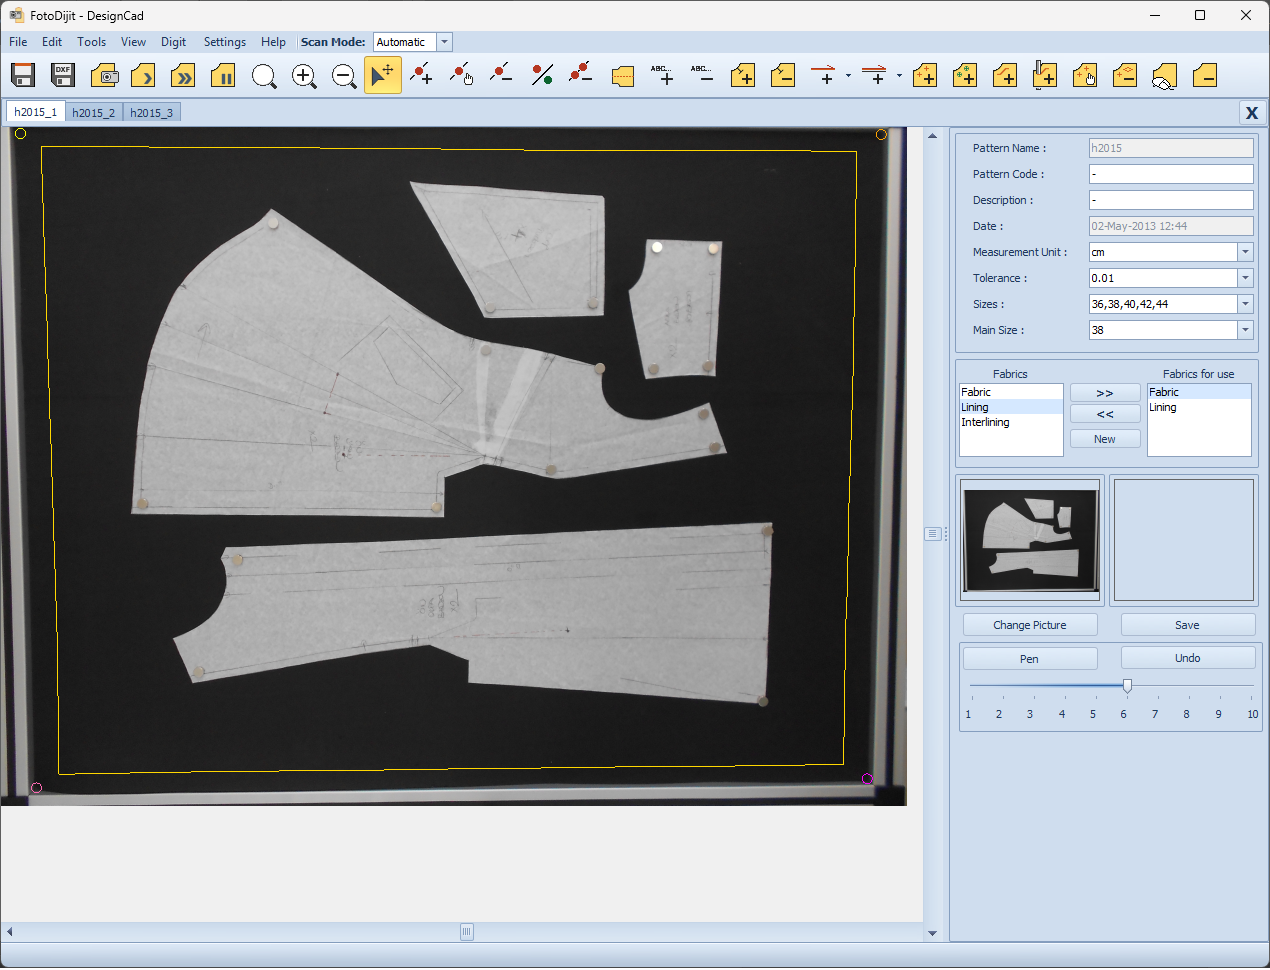
4.) The confirmed image is transferred to the Fotodijit screen. If the captured image is suitable in terms of lighting, contrast, and positioning, the scanning process can begin.
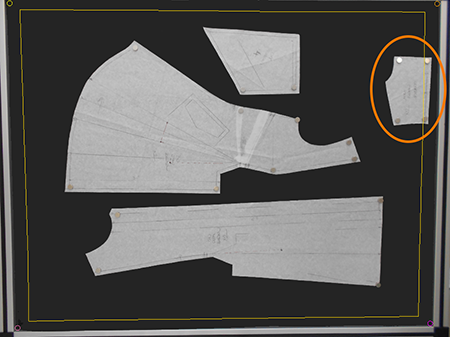
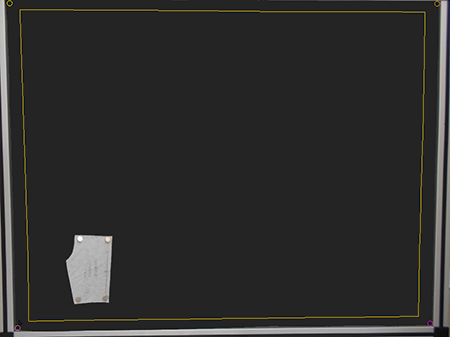
Cases where the captured image is not suitable:
 |
|
 |
|
 |
|
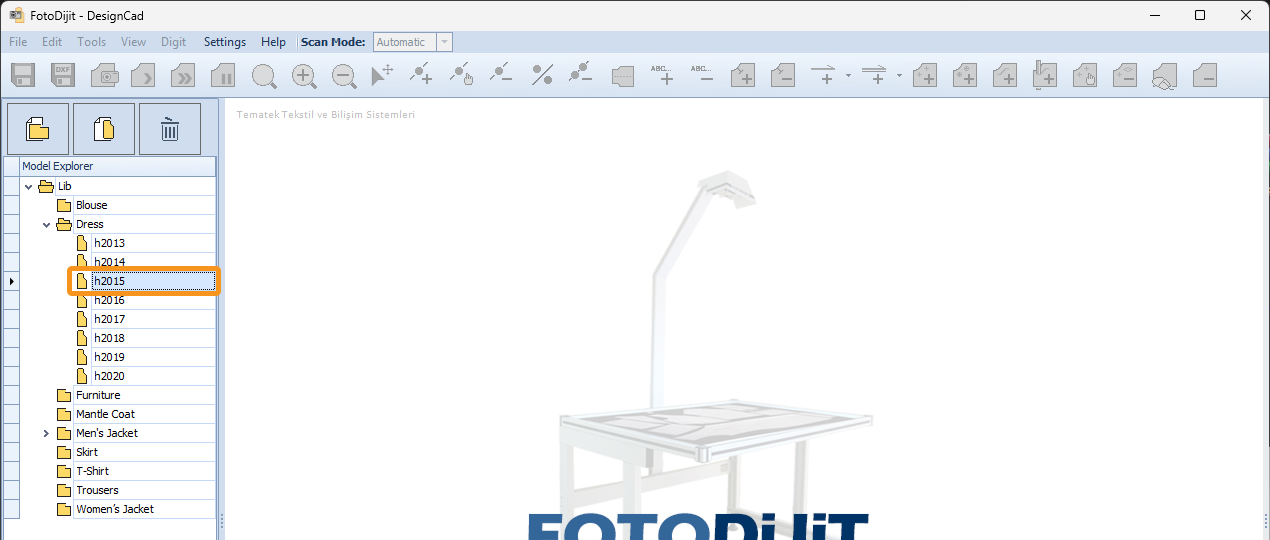
If a pattern image is to be captured for a model that already exists, open the model by double-clicking it with the mouse in the Model Explorer column on the main screen.
In the opened model, click the ![]() Capture Image button from the top menu to open the Camera Preview window, and repeat the same steps.
Capture Image button from the top menu to open the Camera Preview window, and repeat the same steps.
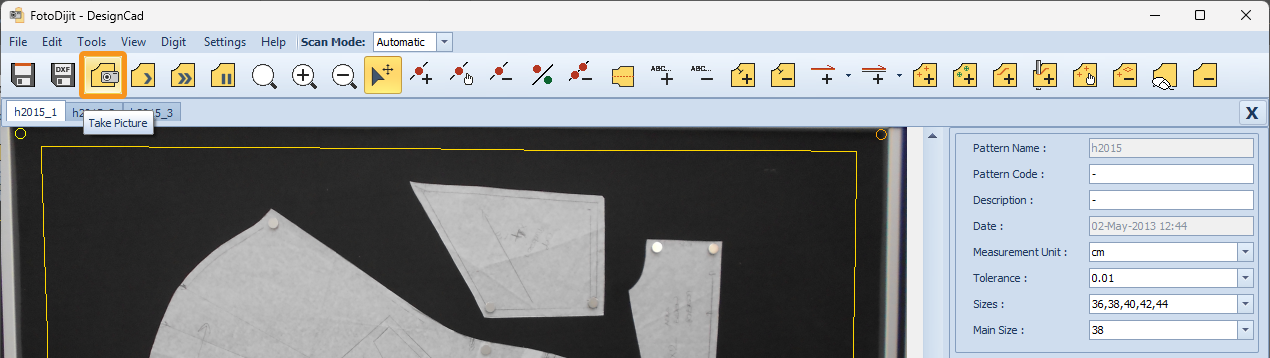
The newly captured image will appear in a new tab on the page with the model name followed by _1, _2, etc. (for example: h2015_1, h2015_2, h2015_3, etc.).